Introduction
Every time I open my door and see those messy cables, bedding, and drawers, I feel frustrated. As a home expert who has been experimenting for ten years, I deeply understand the importance of a neat and comfortable home for quality of life. Today, I'll share with you the lessons learned and experiences gained over these years, hoping to help you keep your home organized.
Cable Management
When it comes to the most frustrating problem at home, it's definitely the messy cables. Phone chargers, tablet chargers, laptop power cords, monitor cables, keyboard and mouse cables, headphone cords - all these cables tangled together like a plate of stir-fried noodles. Trying to organize these cables takes half a day, and they become messy again shortly after.
I was also troubled by this problem for a long time until I discovered the magic of cable clips. At first, I thought such simple accessories couldn't be that useful, but after actually using them, I realized I should have found them sooner. My first attempt was in the study room, where I bought a bunch of cheap cable clips, each costing just a few dollars. After fixing them to the back of the desk and organizing the various cables by category, the entire desk was instantly transformed.
Not only did it look much cleaner, but it was also very practical. For example, when I want to get my phone charger, instead of digging through a tangled mess of cables for half a day, I can now grab it instantly. I specifically recorded that after using cable clips, the time to find cables was reduced from an average of 2 minutes to less than 10 seconds. What pleased me even more was that this method could prevent damage caused by long-term cable bending, and I found that the lifespan of cables noticeably increased after using cable clips.
There are also techniques to using cable clips. I summarized several tips: first, choose clips of appropriate size based on cable thickness; second, consider usage frequency when deciding placement, putting frequently used cables in easily accessible locations; third, it's best to label the clips with cable purposes to avoid grabbing the wrong ones.
I also discovered an unexpected bonus - cable clips can be used not just on desks, but also on walls and cabinet sides. I used cable clips to secure various video and audio cables on the side of the TV cabinet in the living room, which not only solved the cable mess but also unexpectedly made the whole living room look neater.
Bedding Storage
Regarding bedding storage, this might be a major challenge for many people. The state of my bedding storage used to be absolutely terrible. A closet was stuffed with various bed sheets, duvet covers, and pillowcases. Every time I needed to change bedding, I had to turn everything upside down, and when I found one item, I couldn't find its matching piece. Often, by the time I finally found a complete set, the closet was in complete disarray.
This situation continued until I discovered the "pillowcase storage method." The method is very simple: put all items from the same bedding set inside one of its pillowcases. But this simple method completely transformed my storage predicament.
The first time I tried this method, I took out all the bedding, sorted it by sets. Each bedding set includes sheets, duvet covers, pillowcases, etc., all neatly folded and placed in one pillowcase. Then I labeled the outside of the pillowcase, noting the color, pattern, and size of the bedding inside. This storage method not only made the bedding more organized but also made it very convenient to find things.
This method had an unexpected benefit - it helped maintain the bedding in better condition. Because all bedding items were completely wrapped in pillowcases, they weren't exposed to dust and wouldn't wrinkle from being pressed at the bottom. I found that bedding stored this way remained neat even after being stored for a long time, requiring no additional ironing.
To make this storage system more complete, I made some optimizations. For example, I sewed a small pocket on the outside of each pillowcase containing bedding, inside which I put a card recording detailed information about the bedding set, including purchase date, suitable season, number of washes, etc. This not only makes it easy to find things but also helps track the usage of each bedding set and plan reasonable replacement and disposal.
I also stored bedding in different zones according to seasons and frequency of use. Frequently used items are placed in easily accessible locations, while seasonal bedding is stored in upper closet shelves or storage boxes. This not only saves space but also ensures reasonable use and rotation of bedding.
Through this method, I organized bedding that originally needed an entire large closet into just one-third of the space. More importantly, I no longer have to worry about finding bedding. Every time I need to change bedding, I just take out one pillowcase and have a complete set, which is super convenient.
Drawer Organization
Drawer organization is definitely a technical job. My drawers used to be like a "black hole," with various items randomly piled up, and I had to turn everything upside down to find things. Especially in the kitchen drawers, chopsticks, spoons, spatulas, and scissors were all mixed together, and it would take quite a while to find a tool every time I cooked.
Later I discovered dividers, which completely solved the drawer chaos problem. I first experimented in the kitchen, buying some adjustable plastic dividers and dividing the drawer into several areas according to the type and size of items. Knife section, utensil section, cooking tool section, seasoning section, etc., each type of item has its fixed position.
The effect of this change really exceeded expectations. Previously, finding a seasoning spoon might take three minutes, now I can find it at a glance. I even did a small experiment, tracking the time difference in finding things before and after using dividers. The results showed that after using dividers, the average time to find things was reduced from 2-3 minutes to less than 10 seconds, improving efficiency by nearly 90%.
There are techniques to using dividers. I summarized several key points: first, plan zones reasonably according to drawer size and types of items. Frequently used items should be placed in the most accessible positions, and larger items need separately planned spaces. Second, the height of dividers should be moderate - too high will affect drawer opening and closing, too low won't serve the dividing purpose.
During use, I also found that dividers of different materials have their characteristics. Wooden dividers look more quality but need moisture protection; plastic dividers are affordable and waterproof, easy to clean; metal dividers are more durable but relatively expensive. I chose dividers of different materials according to the purposes of different drawers in my home.
Beyond the kitchen, I extended this method to other rooms. Study drawer dividers organize stationery, bathroom drawer dividers categorize skincare and makeup products, and even closet drawers use dividers to organize underwear and socks. Every drawer is well-organized, and finding things is no longer a worry.
To make this storage system more complete, I also labeled each zone, so other family members can easily find things and won't misplace items. After using it for a while, I found that the wear and tear rate of items at home significantly decreased because everything has a fixed place and won't be damaged or lost due to misplacement.
Kitchen Innovation
The kitchen can be said to be the place that needs the most intelligent storage at home. My proudest little invention is using rubber bands to secure phones. Now cooking basically requires watching videos or following picture tutorials, but it's always inconvenient to place phones in the kitchen. You either worry about oil splashing on them or fear they'll get wet.
My solution is very simple: I wrapped two sturdy rubber bands on the kitchen shelf, creating a simple phone holder. The phone can stand there steadily, and the angle can be freely adjusted. This little creativity not only solved the recipe-viewing problem but unexpectedly improved my cooking efficiency. Because I no longer need to hold the phone or look down at it, both hands can focus on handling ingredients.
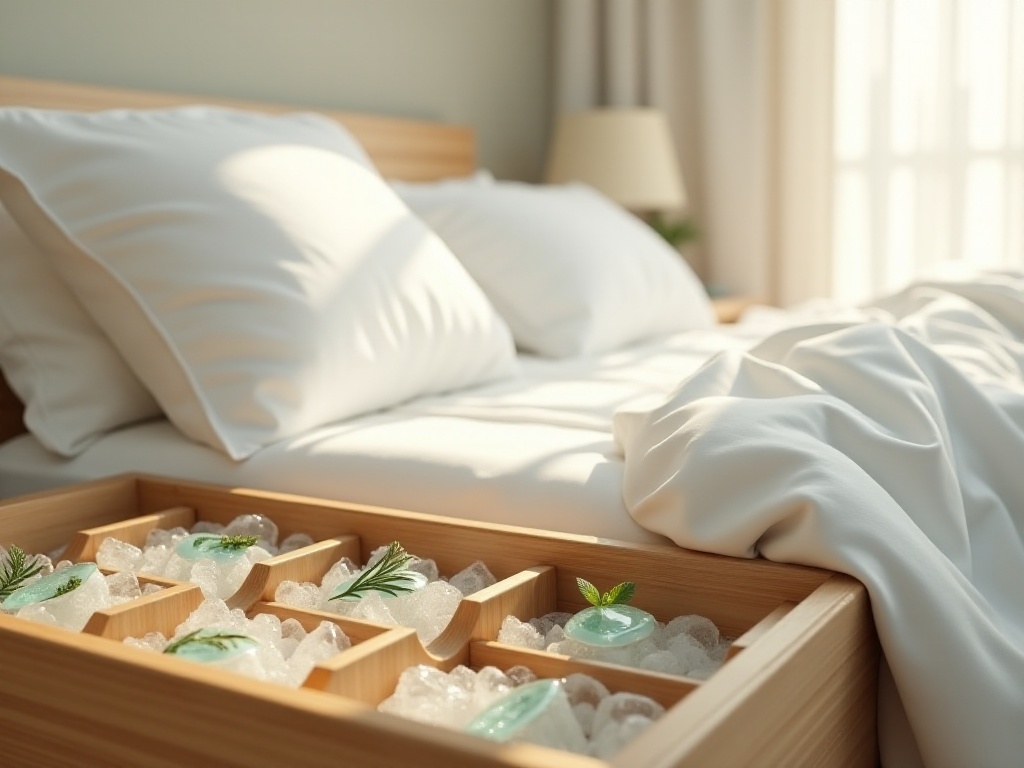
Speaking of kitchen innovation, I recently figured out a particularly useful method for preserving herbs. Fresh herbs are indeed fragrant, but they spoil very easily, wilting after just a few days. Later I discovered the freezing preservation method, which works surprisingly well. The specific method is to wash and chop fresh herbs, put them in ice cube trays, add appropriate amount of olive oil, then freeze them in the refrigerator.
Herbs preserved this way not only stay fresh for up to six months, but are also very convenient to use - just take out a small cube when needed. I calculated that preserving herbs this way saves at least 50 yuan per month compared to repeatedly buying fresh herbs. And the texture and aroma of frozen herbs are very good, almost no different from fresh ones.
In terms of kitchen storage, I have another trick which is making good use of door space. I installed a multi-layer storage rack behind the kitchen door to store various seasonings and small kitchen utensils. This not only saves cabinet space but is also convenient to use. I specifically measured that this storage rack helps me save about 0.5 square meters of storage space.
Kitchen waste sorting is also an important issue. I installed three different colored garbage bins under the sink for kitchen waste, recyclables, and other garbage respectively. Each garbage bin has clear classification labels, which is not only environmentally friendly but also keeps the kitchen clean.
Innovative Cake Cutting
Speaking of kitchen innovation, a new cake cutting method I recently learned is really great. The traditional way of cutting cake is to cut it radially from the center into triangles, which looks beautiful but has a big problem: the cut cake surface is exposed to air and easily dries out. And the last small piece often goes uneaten because it doesn't look appealing.
The new cutting method is like this: cut out a rectangular piece from the middle of the cake, then push the two sides together. The advantage of doing this is that the cut area is relatively small, so the cake doesn't dry out easily. And each cut is a complete piece, looking very tempting.
I tried this method at a recent family gathering, and it worked really well. Initially thought people might find this cutting method less aesthetically pleasing, but everyone actually found it novel and took photos to record it. More importantly, this cutting method really helps the cake maintain freshness longer.
To verify the effect, I specifically did a comparison experiment. With the same cake, half was cut using the traditional method, half using the new method. The results showed that the traditionally cut cake obviously dried out by the third day, while the portion cut with the new method was still quite soft on the fifth day. This discovery really excited me because finally I don't have to worry about wasting cake if I buy too large a size.
This new cake cutting method brought an unexpected benefit: it's particularly suitable for cake preservation storage. Because each cut piece is a neat rectangle, it can fit perfectly into storage containers. Traditional triangular pieces are often difficult to find suitable containers for storage due to their irregular shape.
I now use this method whenever cutting cake, and I found this method works not just for round cakes but square cakes as well. The only thing to note is to use a sharp knife when cutting, and it's best to scald the blade with hot water before cutting, this way the cut surface will be neater and more beautiful.
Cleaning Tips
When it comes to home cleaning, what I advocate most is baking soda. This can be said to be the most economical cleaning product - just a few dollars per package, yet it can solve various cleaning problems. Now I can't do without it for basic cleaning work at home.
The most impressive experience was using baking soda to clean the sink. At that time, my sink had been used for several years and had thick limescale buildup that couldn't be cleaned no matter how hard I scrubbed with regular cleaners. I tried using a combination of baking soda and white vinegar, and the effect was amazing. The white vinegar and baking soda started bubbling upon contact, and after waiting about ten minutes and rinsing with clean water, the sink was like new - I couldn't believe it myself.
This discovery made me start researching other uses for baking soda. I found it's almost omnipotent: cleaning ovens, removing carpet stains, cleaning toilets, eliminating refrigerator odors, etc. I specifically recorded the expenses of using baking soda for cleaning, and compared to using professional cleaners, it saves at least 100 yuan per month.
Another advantage of baking soda cleaning is that it's environmentally friendly. Regular cleaners often contain various chemical components that pollute the environment when washed down drains. But baking soda is a natural product that doesn't produce any harmful substances. I basically don't buy professional cleaners anymore, handling all cleaning work at home with baking soda.
To achieve better cleaning results, I summarized several tips for using baking soda. First, the ratio needs to be accurate, generally 1:3 for baking soda to water, so it's neither too thin nor too thick. Second, pay attention to reaction time - for heavy-duty cleaning like sinks, it's best to wait 10-15 minutes to let the baking soda fully work. Finally, dry promptly after cleaning to prevent water stains.
I also discovered that baking soda plus essential oils can make natural air fresheners. Pour baking soda into a glass bottle, add a few drops of essential oil, place it in room corners and it will continuously emit a light fragrance. This is not only cheaper than buying commercial air fresheners but also healthier and more environmentally friendly.
DIY Creativity
Speaking of home decoration, I've recently become obsessed with painting glass vases. This craft allows creativity while saving money. Nice vases in stores easily cost hundreds of yuan, but making them yourself might cost less than 50 yuan in materials.
My first attempt was painting on a regular clear glass vase. First clean the vase surface with alcohol, then paint desired patterns using glass-specific paint. I chose a simple gradient design, gradually getting lighter from the bottom up, then dotted a few small flowers in the middle. The whole process took about two hours, but the finished product looked great and really stands out in the living room.
This creativity gave me great confidence, and later I tried more painting techniques. Like texture effects made by dabbing paint with a sponge, starry sky effects made with spray paint, and even special patterns made with candle wax drips. Each attempt brings different surprises, and each piece is unique.
Besides vase painting, I also got into making rugs. This idea initially came when I saw a desirable rug selling for over 900 yuan, thought it was too expensive, and got the idea to make my own. I collected some old T-shirts and yarn, and made a unique rug using simple weaving methods.
The process of making rugs takes some time but isn't actually difficult. I used about 20 old clothes and spent three evenings. Mainly weaving while watching TV, felt very fulfilling. The finished rug is not only beautiful but also very sturdy, and feels very comfortable to walk on.
To make the rug more beautiful, I also studied some weaving patterns. Like creating gradient effects using different colored fabric strips, or adding sequins and beads as decorations during weaving. These little details can make the rug look more exquisite.
Now many decorative items in my home are handmade. Like flower containers made from discarded glass bottles, decorative paintings folded from old book pages, pillow covers knitted from yarn, etc. These handicrafts not only save expenses, more importantly, they add unique personalized touches to the home.

Holiday Creativity
During holidays, I especially like making decorations by hand. This not only saves money but more importantly makes the holiday atmosphere more cozy. Last Christmas, I made a whole room of decorative flowers using party decoration paper.
The specific method is to cut decoration paper into flower petal shapes of different sizes, then layer them and secure the center position with a stapler. Such simple handicraft can create beautiful three-dimensional flowers. I made about 30 flowers of various sizes using different colored decoration paper, arranged them on the living room walls and windows, and the whole room was instantly filled with holiday atmosphere.
What pleased me most was how low-cost these decorative flowers were. I calculated that all materials together cost less than 50 yuan, but the effect was no worse than those sold in stores. And being paper, they can be directly recycled after use, causing no waste.
Besides decorative flowers, I especially like making gift tags. Store-bought gift tags are either too ordinary or too expensive, better to make them yourself. I cut colored cardstock into various shapes, then draw cute patterns with colored pens and write blessings. Though simple, these gift tags are very thoughtful and always receive good reviews when giving gifts.
To make gift tags more exquisite, I also studied some special production techniques. Like using embossing tools to press patterns into cardstock, or writing with gold foil pens - these little details can make tags look more refined. I've also tried creating gradient effects with watercolors, which looks especially dreamy.
Another holiday decoration idea I particularly like is making photo walls. During holidays, I print out family photos, use different colored cardstock as backgrounds, then arrange them on the wall in specific shapes. Like arranging in a Christmas tree shape for Christmas, or the Chinese character for "spring" for Spring Festival. Such decorations are not only seasonal but also fill the home with warm memories.
Experience Sharing
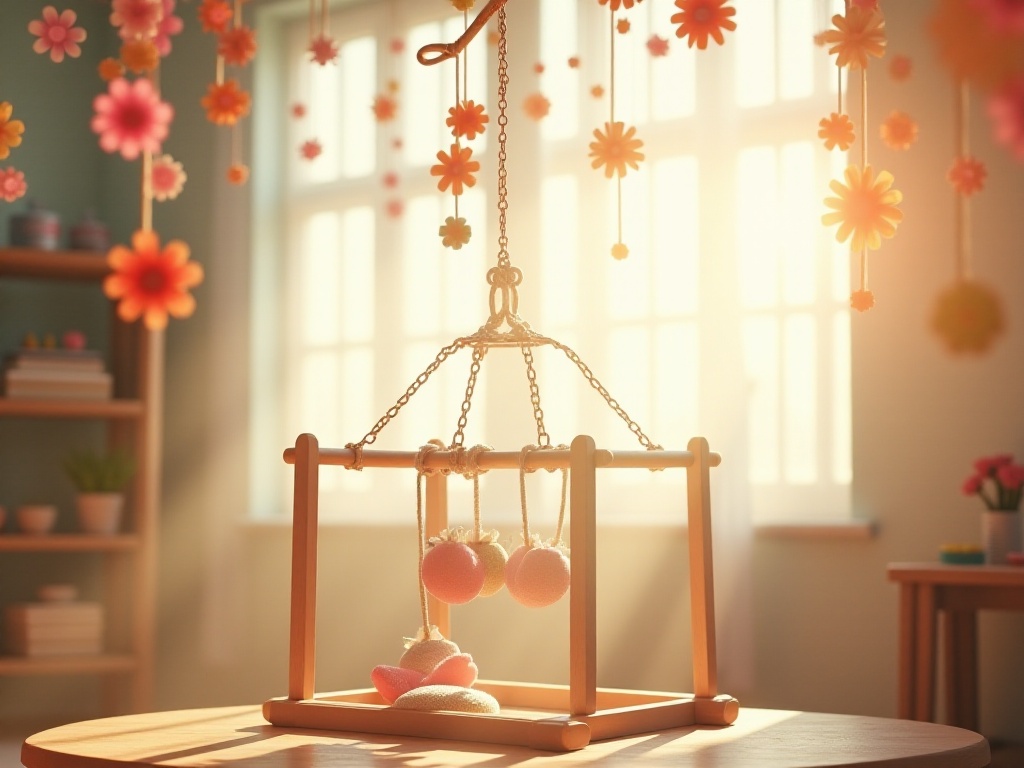
These years of experience have made me deeply realize that creativity in life often comes from daily observation and thinking. Take the baby gym I recently made - this idea came from seeing baby toys in stores costing hundreds of yuan
Related articles


