Opening Thoughts
Recently, I've been seeing lots of elegant home decorations on social media - each one more beautiful than the last! But the prices are quite discouraging. However, I discovered that with some creativity and effort, you can find affordable materials at any supermarket and create high-end decorations at home.
Over the years, I've collected many transformation tips online and in real life, which I'll share today. Although the materials are all inexpensive items from the Dollar Store, after transformation, your friends will definitely ask "Where did you get these luxury items?"
The Magic of Glass
To be honest, when I first tried transforming a glass vase, I never expected the result to be so stunning. I casually bought an ordinary glass vase from the Dollar Store, thinking its shape was nice but too plain. When I got home, I started thinking about how to make it more elegant.
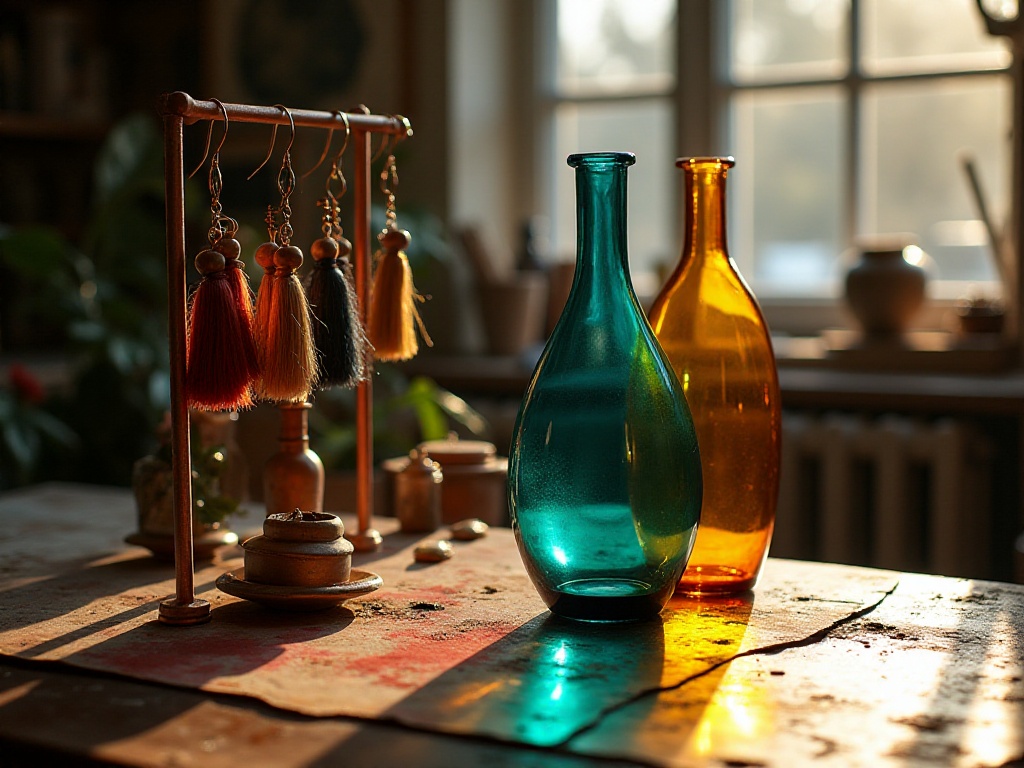
After repeated experiments, I developed a complete glass vase transformation method. First, you must clean the bottle thoroughly - this step cannot be rushed. I used medical alcohol to wipe repeatedly, ensuring no oil or fingerprints remained on the surface. Then came the crucial coloring step.
I specifically bought glass paint from an art supply store. At first, I didn't know how to use it and the application looked terrible, but later I discovered that applying a gradient from the bottom up was a brilliant technique. My favorite color combination is deep blue with white, like the color of the ocean. After the base color dries, I outline simple geometric patterns in gold, and it immediately looks high-end.
Once I transformed an entire set of glass vases using this method and displayed them in my living room cabinet. When friends visited, they thought they were designer art pieces. In fact, including the paint, the entire set cost less than $50.
Besides vases, transforming glass candleholders is also particularly interesting. I bought several plain glass candleholders from the Dollar Store and applied the same gradient color treatment. When candles are lit at night, the whole room is bathed in dreamy light and shadow, creating a perfect ambiance.
Wood Rebirth
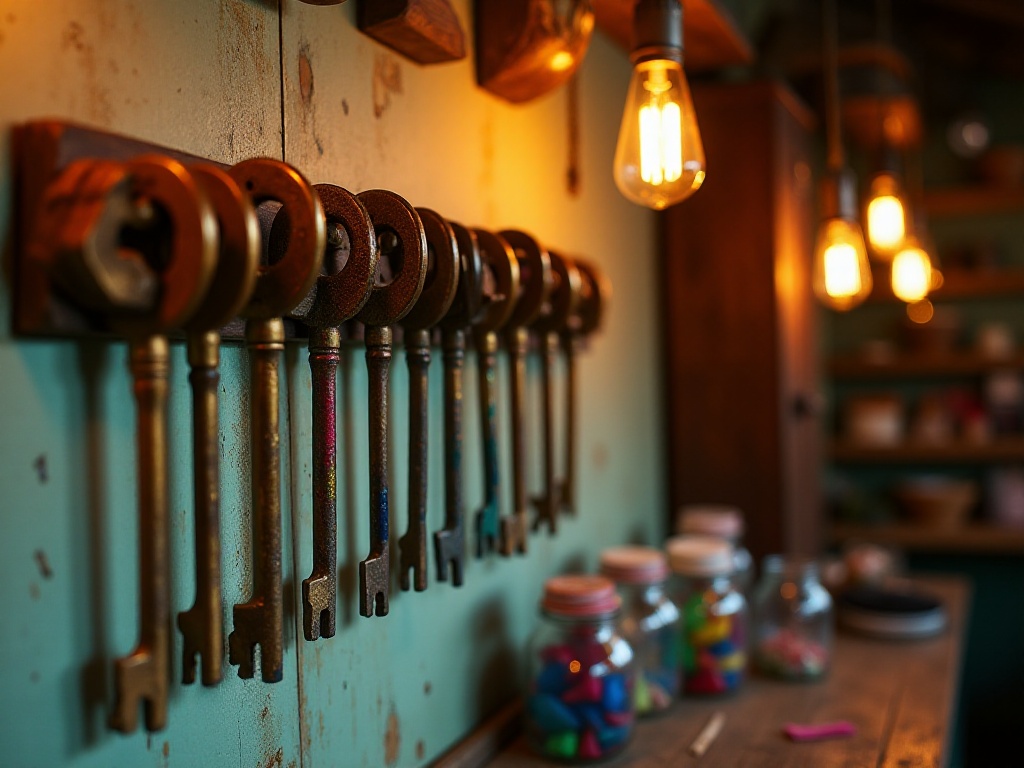
Speaking of furniture transformation, I must mention my masterpiece - that old wooden chair I found at a second-hand market. I remember when I saw this chair, it was lying pitifully in a corner, with most of its paint peeled off, but upon closer inspection, the craftsmanship was very solid and the wood was high-quality hardwood.
The owner thought the chair was worthless and practically gave it to me. But I saw its potential at first glance. After getting home, I immediately started my transformation plan. First came the most tiring sanding work - I spent an entire weekend using different grit sandpaper to remove all the old paint from the chair. This process was really exhausting, but the more I sanded, the more I could see how good the chair's condition was.
After sanding, I chose a cream-colored powder paint. Why this color? Because cream color both highlights the wood's texture and is very versatile. When painting, I applied three coats, waiting for each coat to dry completely before applying the next. The finishing touch was applying a small piece of distressed wallpaper to the chair back, with a pattern of subtle French floral prints that perfectly matched the cream-colored chair.
Now this chair is the most popular "internet sensation" on my balcony, and friends always want to take photos with it when they visit. Some friends specifically come to ask where I bought it from, saying they want to buy one too. I'm almost embarrassed to say it's actually a "rescued treasure."
Besides this chair, I've transformed many wooden furniture pieces. For example, once I saw a natural wood picture frame at the Dollar Store - very simple design but good wood quality. After giving it an aged treatment, it looked very elegant hanging on the wall. Another time, I used the same technique to transform a wooden tray, and now when I use it to serve coffee every morning, I feel my quality of life has instantly improved.
Fabric Innovation
Many people think fabric transformation is particularly difficult and requires professional sewing skills. But actually, many fabric projects are beginner-friendly. For example, the set of cup cozies I made recently are super simple yet practical accessories.
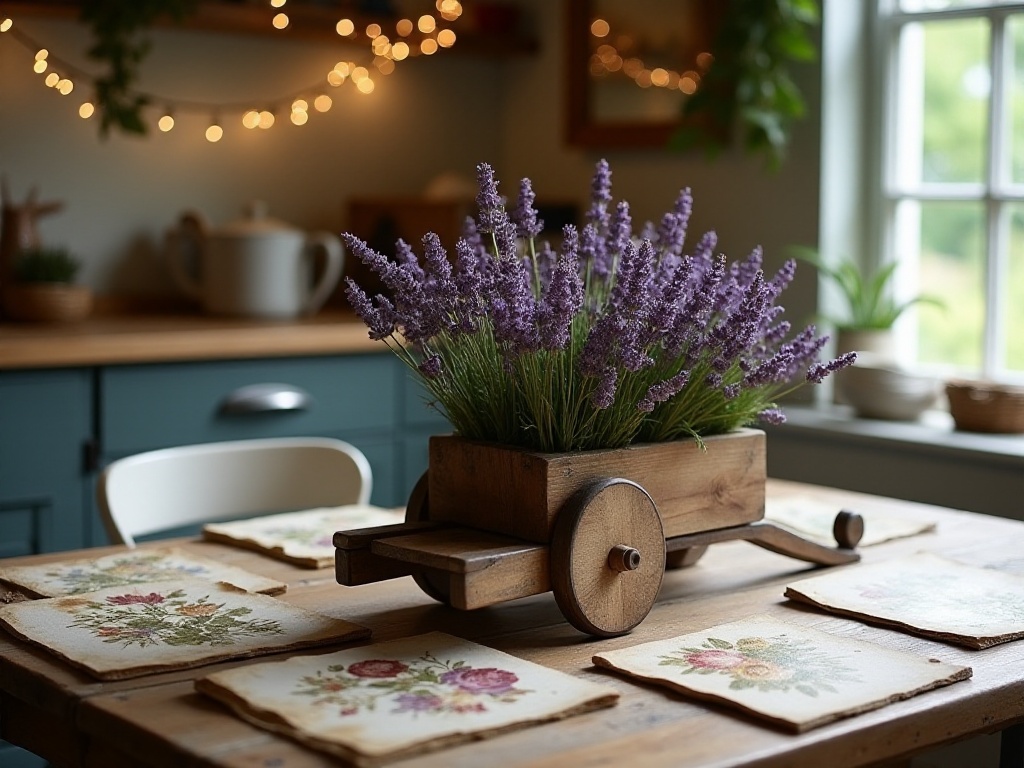
I found some clearance floral fabric at the fabric store with vintage literary patterns. When cutting, remember to leave seam allowance - I usually leave 1 cm extra. Then it's just simple sewing, even hand sewing works fine. Finally, add a cute bow decoration at the top, and it instantly becomes stylish.
These cup cozies not only make your mugs wear beautiful "clothes" but also provide good insulation. And because they're handmade, each one is unique. When I give them as gifts to friends, they absolutely love them.
Besides cup cozies, I've also transformed pillowcases. Dollar Store often has plain pillows that are cheap but look cheap too. So I bought several and made new pillowcases. When choosing fabric, pay attention to color coordination - I usually choose two to three complementary colors and patterns to match. Add some design elements when sewing, like pleats or patchwork, and the pillows become very designer-looking.
Recently, I tried an ambitious project - transforming curtains with fabric. I bought plain white curtains from Dollar Store as the base, then sewed some three-dimensional fabric flowers on them. This process was indeed time-consuming, but the final effect was really stunning. The key is that it only cost about a hundred dollars - similar styles at curtain shops would cost several hundred at least.
Paper Art Ideas
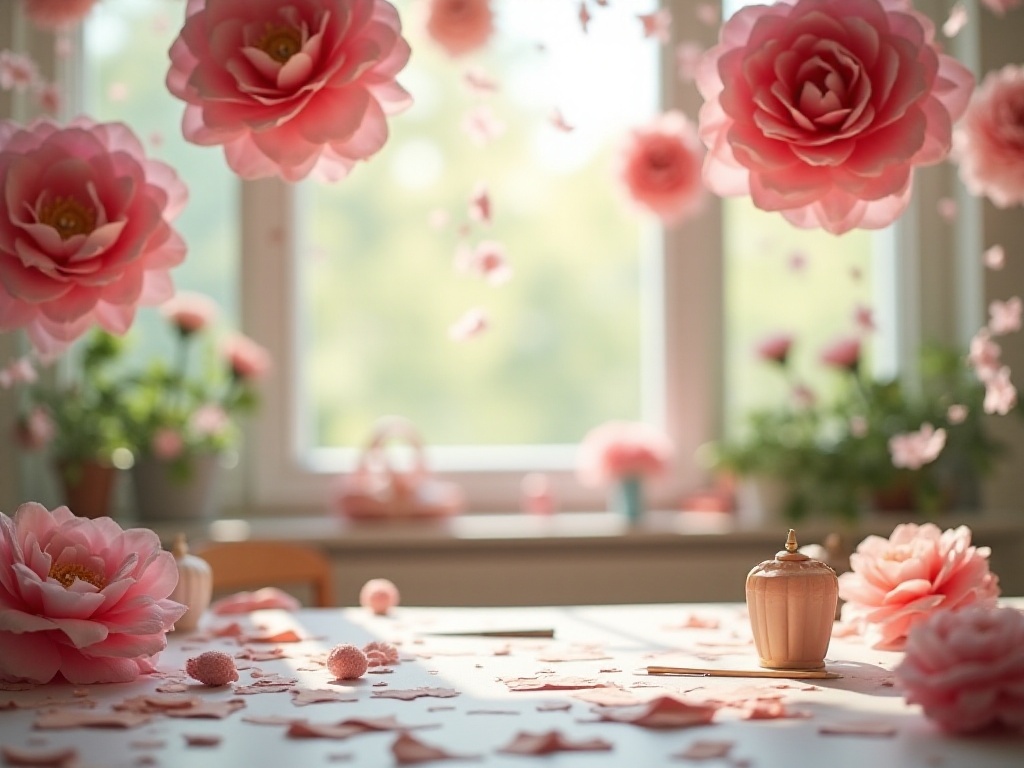
When it comes to the easiest DIY projects to start with, paper art definitely ranks first. The three-dimensional flowers I made with colored crepe paper last month have been in my home for almost a month now, and they make me happy every time I look at them.
The creation process is actually very therapeutic. First, cut the crepe paper into different sized petal shapes - this step seems simple, but you need to ensure the petal size proportions are harmonious. I usually prepare three sizes of petals, so the finished flowers have more depth.
Then comes the crucial shaping step. Each petal needs to be gently pinched to create natural curves, making the paper flowers look more realistic. For the flower center, I wrap thin wire and cover it with yellow crepe paper. Finally, make leaves and stems with green crepe paper, and the overall effect is absolutely amazing.
Besides flowers, I've made many decorative items with paper art. Like three-dimensional geometric hangings made with colored cardstock that look very modern when hung on the wall. Also storage boxes made with kraft paper that are both practical and stylish. Recently, I've been researching how to weave decorative baskets with paper rope - feel like mastering this skill could save quite a bit of money.
Endless Creativity
Speaking of saving money, I must mention another of my proud creations. Last month I saw an ordinary plastic basket at Dollar Store - the shape was actually nice, but the color was too bright and looked very cheap. So I bought it home planning to transform it.
First, I used white spray paint as the base color, then wrapped a circle of jute rope around the basket's edge. I thought that would be it, but then had a flash of inspiration and wrapped a circle of thin copper wire around the jute rope. This small detail immediately elevated the entire basket's quality by several levels.
The final product is practically a Nordic-style storage basket dupe. The key is that the cost was really low - including all materials it was less than $30. And because I made it myself, there's a special sense of achievement. Now this basket sits on my desk storing various stationery items, and I feel particularly satisfied every time I see it.
This increasingly makes me feel that the key to transformation isn't about how expensive the materials are, but how much thought you're willing to put in. Sometimes the most ordinary things can shine surprisingly after clever design and transformation.
For example, I also transformed a glass jar that was originally for jam. After cleaning it thoroughly, I wrapped it with distressed kraft paper and decorated the jar opening with lace trim, and it immediately became a very vintage-style storage jar.
Another time, I transformed a wall storage rack using Dollar Store wire mesh. After spraying it white and hanging it on the wall, it looked particularly fresh and artistic. The key is that such storage racks easily cost nearly a hundred dollars in home stores, while mine cost only twenty or thirty dollars to make.
Practical Advice
After sharing so many specific transformation methods, I think it's necessary to share some practical tips. These are experiences I've summarized through constant trial and error.
First, no matter what transformation you want to do, you must first draw a design on paper. I've learned this lesson the hard way before - thinking I had ideas in my head and starting directly, only to find halfway through that it wasn't at all what I wanted, and materials were wasted. Now I always sketch first and list out materials and steps, which makes the process more organized.
Tool selection is also particularly important. For example, with spray paint, you must choose ones with adjustable nozzles to control the spray evenness. I previously used poor quality spray paint, resulting in uneven paint surfaces on several pieces that had to be redone.
When working with fabric, needle selection is also crucial. Different fabric thicknesses require different needle sizes, and thread colors need careful matching. I suggest preparing several different colored threads so you can adjust while sewing.
Also, you must have patience. Many transformations look simple but may encounter various problems during actual operation. Like when I first made paper flowers, they never looked natural enough, and it wasn't until I watched many video tutorials and practiced repeatedly that I mastered the technique. So don't give up because of one failure - take it slow, and you'll eventually create satisfying works.
Safety issues are also important. When using spray paint or strong glue, always work in a ventilated area and preferably wear a mask. Also be careful when using tools, especially when handling sharp materials.
Conclusion and Reflections
Through these transformations, I increasingly feel that life is full of creative possibilities. Often, ordinary items around us hide great potential - as long as we're willing to take action, we can give them new life.
Every time I see my transformed works displayed at home, there's a special sense of satisfaction. Not just because of saving money, more importantly, these items carry my heart and creativity, making every corner of home unique and warm.
Actually, the process of hands-on transformation itself is enjoyable. In this fast-paced life, being able to calm down and focus on completing a piece is itself relaxing and healing. Moreover, completing each piece brings me new inspiration, making me want to try more possibilities.
Recently I've collected some new transformation ideas and plan to try them on the weekend. Do you have any unique DIY ideas to share? Or do you have any successful transformation experiences?
Remember, everyone is a designer of life, and our home is the best creative canvas. As long as we're good at discovering and brave enough to try, we can definitely create unique and beautiful living spaces with our own hands. Let's together light up every corner of life with creativity.
Related articles


