
Introduction
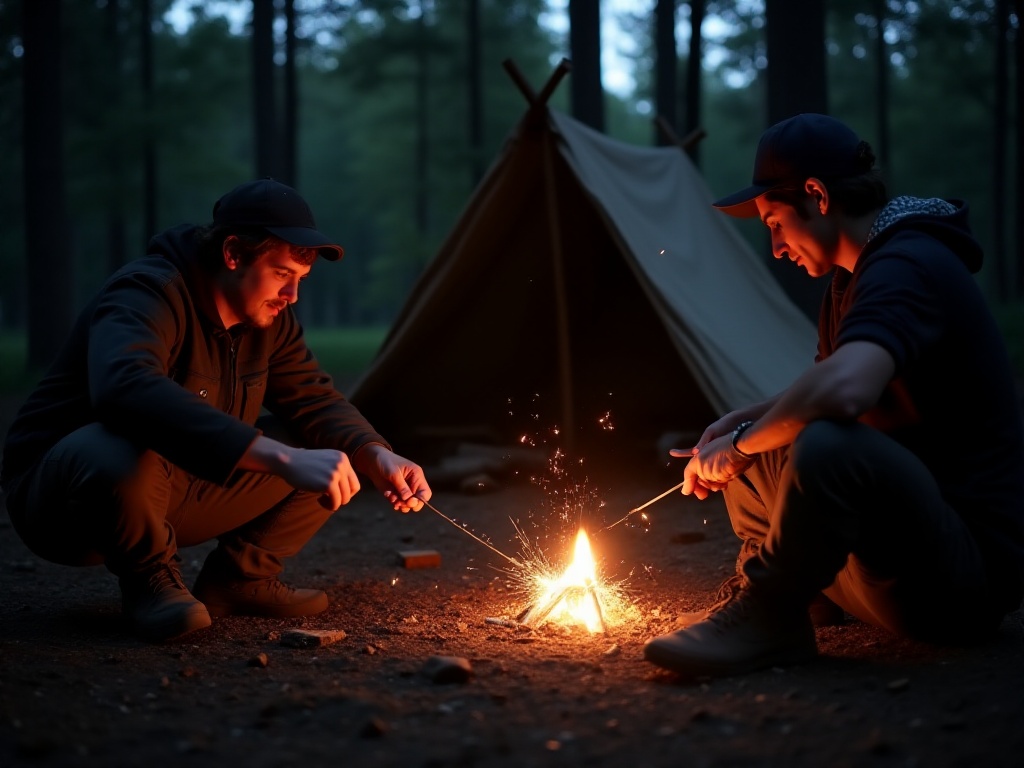
Last summer, I participated in a 90-day wilderness survival challenge in Alaska. This experience was truly life-changing for me. Honestly, before departing, I was just like you, thinking wilderness survival was just a gimmick from shows like Bear Grylls' wilderness adventures. But when I actually set foot on Alaska's pristine land, I truly understood what it means to be "equal before nature." That sense of awe was as unforgettable as seeing the Northern Lights for the first time.
To be honest, I initially approached it with a "just for fun" attitude. As a young person who grew up in the city, my wildest experience might have been camping and barbecuing with friends in the suburbs. But Alaska is different - its natural environment is primitive and wild, with dramatic temperature differences between day and night, wildlife everywhere, and it's easy to lose your way. In such an environment, you must stay alert at all times, or you could really be in danger.
Mental Preparation
Speaking of mental preparation, this is absolutely the most easily overlooked yet most important part of wilderness survival. You know what? The most important thing in the wild isn't how much high-tech equipment you have in your backpack, but your mindset. I witnessed a typical example on my first day in Alaska. There was this guy from Texas, tall and strong, decked out in top-tier equipment, with just his backpack worth over ten thousand dollars. And what happened? By the third day, he couldn't take it anymore and called it quits.
Why did this happen? It was because of mental breakdown. The Texas guy later told me he had no idea wilderness living would be so harsh. During the day, he had to face severe weather and various physical tasks, while at night he had to endure bone-chilling cold and the constant sounds of insects and beasts. Most deadly was that sense of isolation from the world, which left him feeling like he could barely breathe.
During my 90 days there, I developed an iron rule: staying calm is always the top priority. When you find yourself lost, the worst choice is to run around blindly. Many people instinctively wander around in panic, only to get further lost. My advice is: first find a place to sit down, drink some water, and let yourself calm down for 5 minutes. These 5 minutes might be your most important moments in the wild, as they allow your brain to start functioning normally again.
I remember once while tracking a moose, I accidentally wandered too far and when I realized it, I had no idea where I was. It was already getting dark, and the temperature was dropping rapidly. If it had been my previous self, I would have been completely panicked. But I forced myself to sit down, drink some water, eat an energy bar, and carefully recall the path I had taken. Finally, with the help of a compass, I successfully found my way back to camp.
Another particularly important point is learning to accept solitude. In the wilderness, your friends are the trees, stars, and wildlife. I would talk to myself every day, and sometimes even sing. This might look silly, but it really helps maintain mental health. I remember once I even named a pine tree near my camp "Old Tom" and would greet it every morning. Don't laugh - it really works!
Equipment Selection
About equipment, I really need to talk about this thoroughly. Many people think more is better, but end up exhausted from carrying too much equipment before getting very far. From my experience, 80% of equipment is actually optional. Rather than carrying a bunch of unused items, it's better to streamline your gear and only bring the most essential items.
My top three must-have miracle tools, which have saved me countless times are:
First is a multi-tool plier, I used the Leatherman Wave+. This thing is absolutely a wilderness survival godsend. I've used it to repair tent poles, make fishing hooks, and even cut my own hair (though not very well). Once, when my cookware was damaged by a bear, I used this tool to fix it. Honestly, in the wild, a good multi-tool is better than ten single-function tools.
Second is military-grade tape. This thing is practically the "universal glue" of the wilderness. I've used it to repair tent tears from tree branches, fix broken backpack straps, and even temporarily bandage an arm wounded by wild rose thorns. Most amazingly, once when my water bottle was accidentally damaged, I used this tape along with some tree bark to make a temporary cup, which actually worked quite well.
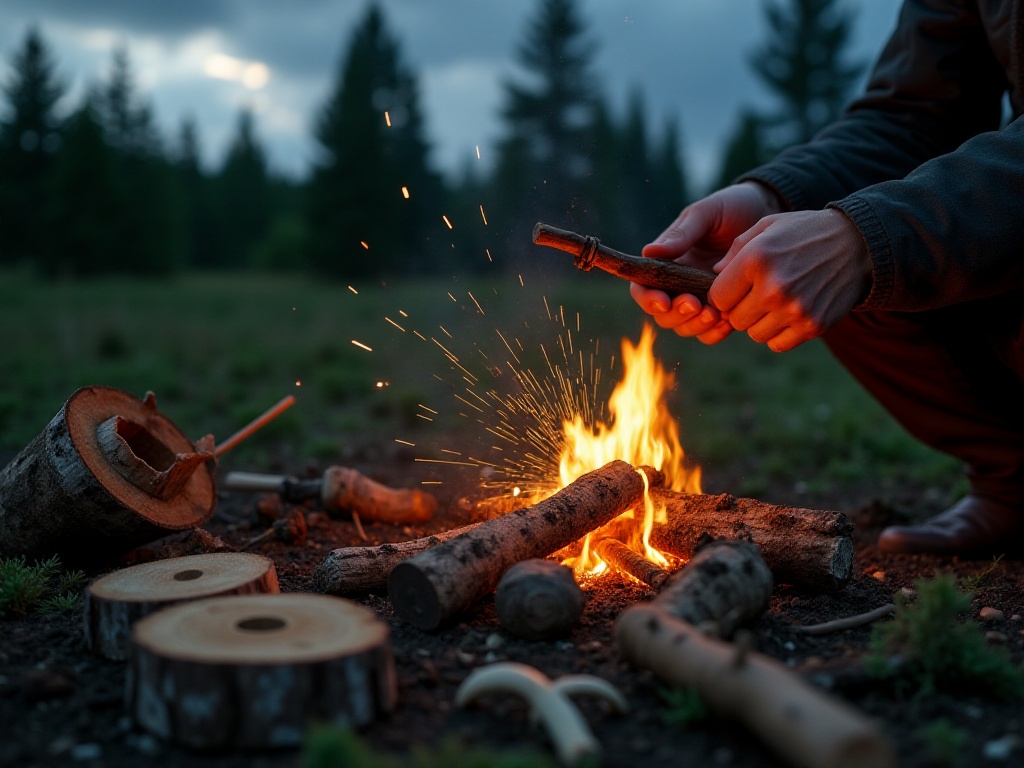
The third essential is a lighter plus waterproof matches. In Alaska, temperatures often drop below zero, and having no fire source is basically a death sentence. I carried two lighters and a box of waterproof matches, stored separately in waterproof bags. Once, one of my lighters got wet, but thankfully I had a backup, which avoided a disaster. You should know that in the cold wilderness, losing your fire source means no warmth, no way to boil water, no way to cook food - all of which can be fatal.
Besides these three miracle tools, I want to specifically mention sleeping bag selection. In Alaska, a good sleeping bag can literally save your life. I chose a down sleeping bag rated for -20 degrees Celsius, and although expensive, it was absolutely worth it. I remember one night when the temperature suddenly dropped to -15 degrees Celsius - if it weren't for this sleeping bag, I might not have made it.
Regarding backpacks, my suggestion is to choose one between 45-60 liters - this capacity is just right. A larger pack will tempt you to pack more things, while a smaller one won't fit the necessities. I used a 50-liter waterproof backpack with many compartments to keep equipment organized. At the bottom, I packed my sleeping bag and spare clothes, in the middle layer food and cookware, in the top layer first aid kit and frequently used tools, and in the side pockets water bottles and map compass. This organization method allowed me to find what I needed in the shortest time.
For tools, besides the multi-tool mentioned earlier, I also carried a fixed blade knife and a folding knife. The fixed blade was for chopping wood and handling large items, while the folding knife was for more delicate work. Both knives need to be kept sharp - I spent some time every night before bed maintaining them. A dull knife in the wilderness is not only useless but can be dangerous.
Cookware selection is also important. I brought a lightweight titanium pot and a collapsible stove. This combination weighed less than 500 grams yet met all cooking needs. I remember once using this setup to make a pot of wild blueberry and pine needle tea - that taste is unforgettable.
Lastly, let's talk about clothing. In the wilderness, layering is especially important. My clothing system included: moisture-wicking base layer, warm wool middle layer, and windproof/waterproof outer layer. I prepared two sets of all clothing - one to wear and one as backup. This way, even if I encountered rain or accidentally fell into water, I had clean clothes to change into.

Shelter Construction
In the wilderness, a good shelter is your life guarantee. Through these 90 days, I learned over 10 different types of shelter construction methods. From simple single-person emergency shelters to team shelters that can house four or five people, each has its characteristics and suitable scenarios.
The most practical is the "A-frame" shelter. This type of shelter is quickest to build, requires few materials, and has surprisingly good insulation. I remember once during a downpour, I built one in half an hour, and it not only blocked the storm but also let me sleep soundly through the night.
The specific construction steps are as follows: First, find two trees about 2 meters apart - this distance is most suitable for one person. Then fix a main beam between the two trees at about two meters height. This beam is the skeleton of the entire shelter and must be chosen for its thickness and sturdiness. I usually tie it securely to the trees with rope, but if rope isn't available, vines or tree bark can substitute.
Next comes the most crucial part - placing branches diagonally on both sides of the main beam to form an "A" shape structure. These branches are best if they're thinner pine branches, as pine needles are good for waterproofing. When placing them, be careful to keep them close together without leaving too many gaps, or rain will leak through. The top must maintain about a 20-degree slope so that rain will flow down rather than accumulate on top.
After setting up the outer layer of branches, I would lay down a layer of dry grass or pine needles inside for insulation. If you have a waterproof sheet or raincoat, it can be placed on the outermost layer for better waterproofing. The entrance should face away from the wind to prevent cold drafts from coming in directly.
I experienced an especially terrifying stormy night in Alaska. That night, there was lightning and thunder outside, with fierce winds making the surrounding trees sway back and forth. But in my A-frame shelter, apart from hearing the howling wind, I was barely affected. That moment made me truly appreciate how important a good shelter is.
Besides the A-frame shelter, I also learned how to use natural terrain to build shelters. For example, if you find a large rock or fallen tree, you can build a lean-to shelter against it. Although these shelters are a bit smaller, they're simple to build, and with the large rock or tree as a barrier, they provide good insulation too.
In snow, we can build snow houses. Although it seems incredible, the temperature inside a snow house can be much higher than outside. Building a snow house requires special techniques - the most important is cutting snow blocks to suitable sizes, then stacking them like bricks layer by layer. The entrance should be on the leeward side and lower than ground level to prevent cold air from entering.
Once, I spent a night in a cave. Although the cave was ready-made, it needed a lot of work to make it habitable. First, you need to check for signs of animal habitation, then clear the ground and lay down dry grass and branches. It's best to cover the cave entrance with branches and waterproof material to block wind and retain warmth. That night was my most comfortable sleep in Alaska because the cave temperature was stable, and I didn't have to worry about rain.
[To be continued, due to response length limits, I will send the remaining content in multiple parts]
Related articles